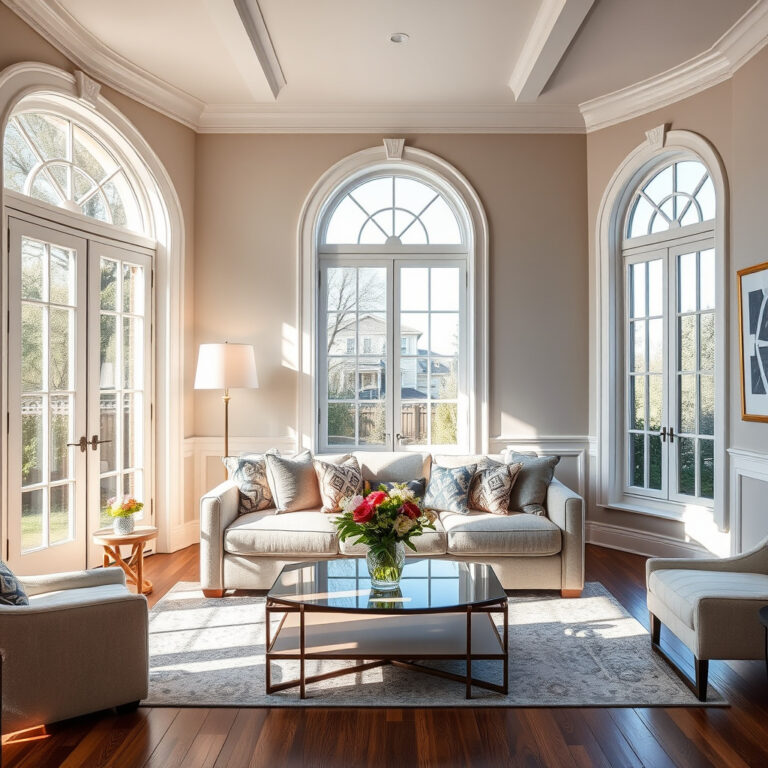
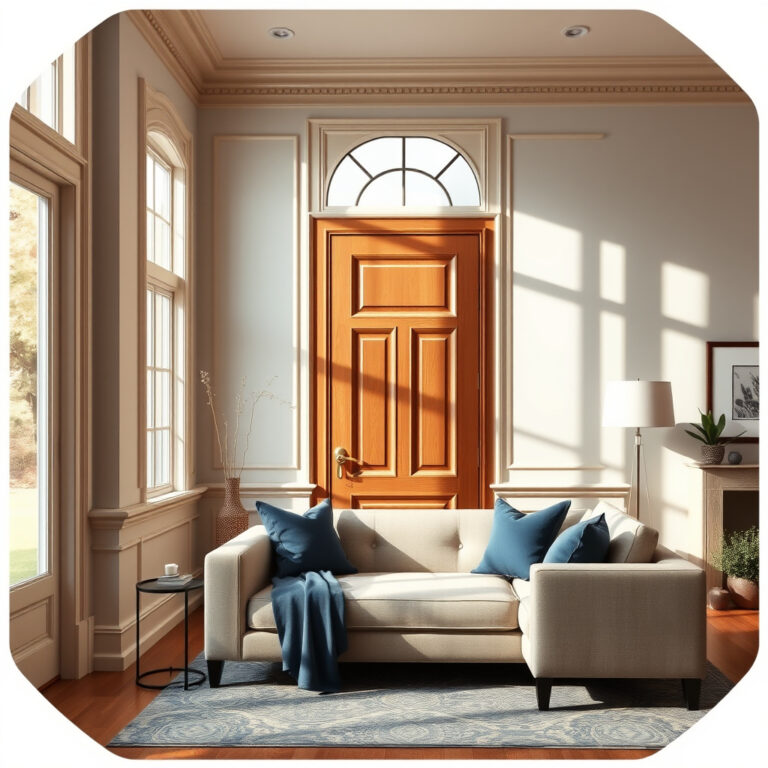
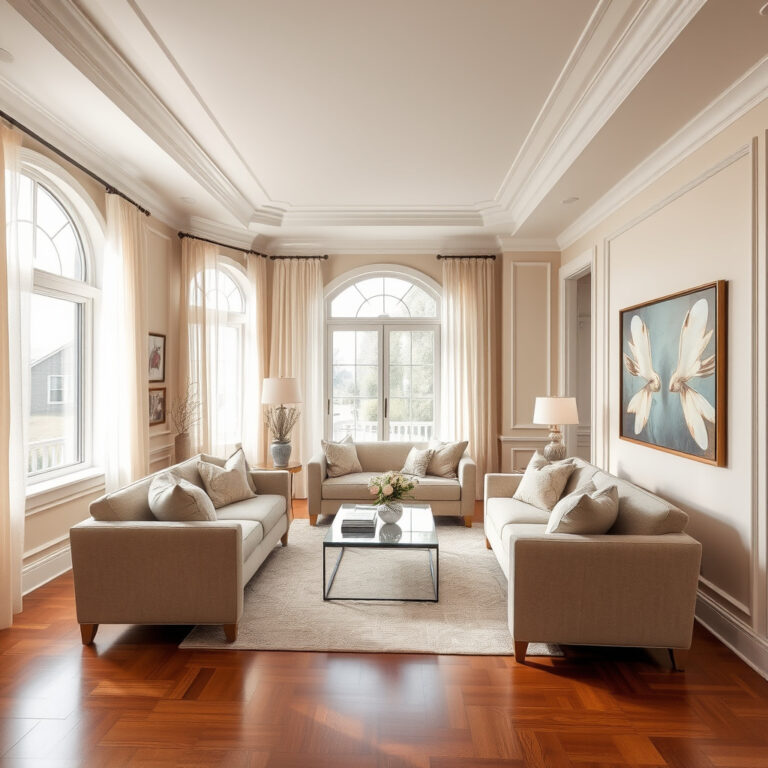
Installing moldings and trim involves adding decorative elements to enhance the aesthetics and functionality of your living space.
Installing moldings and trim can dramatically elevate the look of your home.
In this post, we’ll explore essential techniques and tips that will help you master this skill.
By the end, you’ll not only understand the different types of moldings and trims available but also learn how to seamlessly incorporate them into your modern family home for a stylish and durable finish.
Choosing the Right Moldings for Your Modern Family Home
When it comes to enhancing the aesthetic appeal of your modern family home, selecting the right moldings is an essential step that can dramatically alter the overall atmosphere of your living spaces. Moldings not only serve a practical purpose but also add a layer of sophistication and character. As you embark on the journey of installing moldings and trim, it’s crucial to understand what styles and materials will best complement your home’s design.
Understanding Your Space
Before diving into the world of moldings, take a moment to assess your home’s architectural style. Modern homes often feature clean lines and minimalistic designs, which means that your moldings should reflect this simplicity. Opt for sleek, contemporary styles that blend seamlessly with your interiors. Consider factors like ceiling height and room dimensions; larger spaces can handle bolder, more intricate moldings, while smaller rooms may benefit from simpler designs.
Choosing the Right Style
When selecting moldings, think about the various styles available. Some popular modern molding designs include:
- Flat Stock: This type of molding is straightforward and works well in contemporary settings.
- Quarter Round: Ideal for a clean transition between walls and floors, providing a polished look.
- Crown Molding: While traditional, a simple crown can add elegance without overwhelming the room.
- Baseboards: Choose taller baseboards to create a striking visual effect in modern homes.
By understanding these styles, you can make informed decisions that enhance the overall aesthetic of your home.
Material Matters
The material you choose for your moldings can significantly impact both the look and durability. Common materials include:
- Wood: Offers a classic, warm feel but may require more maintenance.
- MDF (Medium Density Fiberboard): An affordable option that can mimic the look of wood with less upkeep.
- Polyurethane: Lightweight and resistant to moisture, making it ideal for high-humidity areas.
Each material has its benefits, so consider your lifestyle and maintenance preferences when making a choice.
DIY or Professional Help?
While some homeowners enjoy tackling DIY trim installation, others may prefer to hire professionals for a flawless finish. If you’re new to finish carpentry, consulting with finish carpentry contractors can provide valuable insights and ensure that your moldings are installed correctly. However, if you’re eager to try your hand at it, there are plenty of molding installation tips available to help you get started.
Final Touches
Once you’ve selected your moldings and decided on a method of installation, consider how to finish them. Paint or stain can enhance the beauty of your moldings, so choose a color that ties in with your existing decor. White is a popular choice for a crisp, clean look, while darker shades can add depth and drama.
By carefully choosing the right moldings, you can create a cohesive and inviting atmosphere in your modern family home, making it a space that reflects your personal style while remaining functional for everyday life. Whether you’re considering easy molding projects or planning for more intricate designs, the right moldings will elevate your home’s overall appeal.
Essential Tools and Materials for a Successful Installation
When it comes to installing moldings and trim, having the right tools and materials can make all the difference. Proper preparation not only streamlines the process but also ensures a polished and professional finish. To embark on your molding journey, let’s explore what you’ll need to bring your vision to life.
Gathering Your Tools
First and foremost, you’ll want to assemble a reliable toolkit. Here’s a list of essential tools that will serve you well during your project:
- Miter Saw: This tool is crucial for making precise angled cuts, especially when working with corners.
- Nail Gun: A pneumatic or electric nail gun will speed up the installation process and give you a clean finish.
- Measuring Tape: Accurate measurements are key, so a sturdy tape measure is a must-have.
- Level: Ensuring your moldings are straight and even is vital for a professional look.
- Caulk Gun: For filling gaps and seams, a caulk gun will help you achieve a seamless appearance.
- Utility Knife: Great for trimming and making minor adjustments to your moldings.
- Sanding Block: Smooth edges and surfaces before painting or finishing.
Choosing Your Materials
Next, let’s talk about materials. The type of moldings you choose will greatly impact the overall aesthetic of your space. Here are some popular options to consider:
- Wood Moldings: Classic and versatile, wood can be stained or painted to match your décor.
- Medium Density Fiberboard (MDF): An affordable alternative that is easy to work with and paint.
- Polyurethane Moldings: Durable and resistant to moisture, these are ideal for high-humidity areas.
Combining the right tools with high-quality materials lays the foundation for success. Each piece of trim can add character and style, so consider how different decorative moldings for homes can enhance your space.
Molding Installation Tips
While you prepare your tools and materials, keep some tips in mind:
- Plan Ahead: Sketch out your project and measure twice before cutting.
- Pre-finish Your Moldings: If you plan to paint or stain your moldings, consider doing this before installation for a smoother finish.
- Work in Sections: Tackling one area at a time can help maintain focus and organization.
- Seek Help If Needed: Don’t hesitate to reach out to Finish Carpentry Services if you need an extra set of hands or expertise.
By equipping yourself with the right tools and materials, you can confidently tackle easy molding projects and achieve stunning results. Whether you are a beginner or experienced in finish carpentry, the journey of transforming your home with modern molding designs is truly rewarding. Embrace your creativity, and let your space shine with your unique touch.
Step-by-Step Guide to Installing Moldings and Trim
Installing moldings and trim can dramatically enhance the aesthetic appeal of your home, giving it a polished and sophisticated look. Whether you’re a seasoned DIY enthusiast or a beginner, this step-by-step guide will walk you through the process of installing moldings and trim, ensuring that your project is both enjoyable and successful.
Preparation is Key
Before diving into the installation, it’s important to prepare your workspace. Clear the area where you’ll be working and gather all your tools and materials. This not only helps with efficiency but also keeps you organized. Here are some essential tools you’ll need:
- Measuring tape
- Level
- Pencil
- Miter saw
- Nail gun or hammer
- Wood glue
- Caulk and caulking gun
- Paint or stain (if desired)
Measuring and Cutting Your Moldings
Once your space is ready, the next step in installing moldings and trim is measuring. Accurate measurements are crucial. Start by measuring the length of the walls where you will place your trim. Don’t forget to account for any corners or angles.
When cutting your moldings, it’s essential to use a miter saw for precise angles, especially for corners. For inside corners, cut each piece at a 45-degree angle so that they fit together perfectly. For outside corners, you’ll want to do the same. This ensures a clean, professional look once everything is installed.
Dry Fit Before Attaching
Before permanently attaching your moldings and trim, do a dry fit. This means placing the pieces against the wall without any glue or nails. It allows you to see how everything fits together and make any necessary adjustments. If you notice any gaps or misalignments, this is the time to correct them.
Securing the Trim
With everything fitting well, it’s time to secure your moldings. Apply a bead of wood glue to the back of each piece before positioning it on the wall. For added security, use a nail gun or hammer to fasten the moldings in place. If you’re installing baseboards, ensure they are positioned flush against the floor.
Make sure to use a level to check that everything is straight. This attention to detail will enhance the overall appearance of your finish carpentry project.
Finishing Touches
After the moldings are securely in place, it’s time for the finishing touches. Fill any nail holes with wood filler and sand the area smooth once it’s dry. You can then use caulk to fill in gaps between the moldings and the wall for a seamless look.
Elevate Your Space with Expert Finish Carpentry
Transform your home with precision-crafted custom cabinetry, trim work, and door installations by WPro Multi Services. Our expert craftsmanship enhances style, durability, and value. Request a free consultation today and bring your vision to life!
Get Your Free Quote NowFinally, whether you choose to paint or stain your trim, this step will truly bring your project to life. Choose colors that complement your home’s decor, and enjoy the transformation.
By following these detailed steps, you’ll be well on your way to successfully installing moldings and trim in your home. Embrace the process and let your creativity shine through in your DIY trim installation project. Whether you opt for decorative moldings for homes or explore modern molding designs, the end result will be a space that feels uniquely yours.
Creative Ways to Enhance Your Space with Moldings and Trim
Transforming your living space with moldings and trim can be an exciting endeavor that adds character and charm. When you think about installing moldings and trim, it’s not just about functionality; it’s an opportunity to express your style and elevate the overall aesthetic of your home. In this section, we will explore creative ideas to enhance your space, ensuring a seamless flow from the previous discussions on choosing the right moldings and essential tools.
Play with Heights and Proportions
One of the most effective ways to make a statement is by varying the heights of your moldings. Taller baseboards can create an illusion of higher ceilings, while crown moldings can draw the eye upward. Consider combining different styles, such as a modern flat board with a more ornate crown, to create an engaging contrast. This approach not only brings depth to your rooms but also showcases your unique taste.
Add Character with Decorative Accents
Integrating decorative moldings for homes can significantly enhance the charm of a space. Think about accentuating door frames or window casings with detailed trim work. You can also introduce wainscoting or chair rails to break up wall space and add interest. These elements can be painted in contrasting colors to stand out, or you might opt for a subtle shade that complements your existing decor.
Incorporate Lighting into Your Design
Another innovative way to utilize moldings is by incorporating lighting. Installing LED strip lights behind crown moldings creates a warm glow that enhances the ambiance of any room. This technique works beautifully in living rooms or dining areas, adding a touch of sophistication without overwhelming the space. Consider molding installation tips that allow for electrical wiring to be hidden behind the trim for a clean look.
DIY Trim Installation for a Personal Touch
If you’re feeling adventurous, DIY trim installation can be a rewarding project. Simple easy molding projects, such as adding a small ledge or decorative border, can be done with minimal tools. This not only saves costs but also allows you to personalize your space. For beginners, starting with baseboards is a great way to get accustomed to the process, and you’ll soon find that it’s an enjoyable way to express your creativity.
Mix Materials for Visual Interest
Don’t hesitate to mix different materials when it comes to trim work for beginners. Combining wood with metal or even fabric can create a unique look that sets your home apart. For instance, wooden moldings paired with metal accents can add a modern touch to traditional spaces. This blend creates a harmonious balance between contemporary and classic styles.
Explore Modern Molding Designs
Modern molding designs often feature clean lines and minimalistic styles that suit contemporary homes. Consider using flat panel moldings or geometric patterns that can enhance the architectural features of your space. These designs not only look chic but also complement various decor styles, making them versatile solutions for homeowners looking to refresh their interiors.
Connect with Finish Carpentry Services
If you’re unsure about your skills or simply want to ensure a polished look, consider reaching out to Finish Carpentry Services. These professionals specialize in finish carpentry, offering expertise that can elevate your project. Searching for finish carpentry near me can lead you to skilled contractors who can help bring your vision to life, ensuring that your moldings and trim are installed to perfection.
By creatively enhancing your space with moldings and trim, you can transform any room into a reflection of your personal style. From experimenting with heights to mixing materials, the possibilities are endless, allowing you to enjoy a beautifully finished home that resonates with your aesthetic preferences.
Maintaining Your Moldings and Trim for Long-Lasting Beauty
Once you’ve invested time and effort into installing moldings and trim, it’s essential to keep them looking their best. Proper maintenance not only enhances the aesthetic appeal of your home but also ensures that your moldings stay in excellent condition for years to come. Let’s explore some practical steps to help you maintain the beauty of your moldings and trim.
Regular Cleaning
The first step in maintenance is regular cleaning. Dust and dirt can accumulate on your moldings, leading to a dull appearance. Use a soft cloth or a microfiber duster to gently wipe away dust. For deeper cleaning, a damp cloth with a mild detergent can be used. Be cautious not to soak the moldings; instead, lightly moisten the cloth to avoid water damage.
Inspect for Damage
Periodically check your moldings for any signs of wear or damage. Look for cracks, peeling paint, or any signs of moisture. Addressing these issues early can prevent more extensive repairs later. If you notice any imperfections, consider touching up the paint or caulk as needed. Keeping an eye on these details will help maintain the integrity of your finish carpentry.
Touch-Up Painting
Over time, even the best finishes can start to fade or chip. When you see areas that need attention, touch up the paint or stain to keep your moldings looking fresh. Choose the same paint or stain used during the initial molding installation for a seamless look. If you’re not sure about the color, take a small sample to your local paint store for matching.
Moisture Control
Moisture is one of the biggest threats to moldings and trim. Ensure that your home is well-ventilated, especially in areas like bathrooms and kitchens. Use exhaust fans to reduce humidity, and consider using a dehumidifier in particularly damp areas. This will help prevent mold growth and damage to your beautiful decorative moldings for homes.
Seasonal Checks
- In winter, check for drafts around windows and doors that could lead to moisture issues.
- In summer, ensure that your air conditioning units are functioning properly to keep humidity levels down.
By staying proactive with seasonal checks, you can avoid many common issues related to moisture and temperature fluctuations.
Professional Help
If you find that your moldings require more than just simple maintenance, consider reaching out to finish carpentry contractors. These professionals can help with repairs or even upgrades to create a more polished look. Searching for finish carpentry near me can connect you with local experts who understand the nuances of finished carpentry.
Maintaining your moldings and trim doesn’t have to be a daunting task. By incorporating these simple practices into your routine, you can ensure that your home continues to showcase the charm and elegance of its architectural details. Remember, a little effort goes a long way in preserving the beauty of your space.
Transforming Your Home: Before and After Installing Moldings and Trim
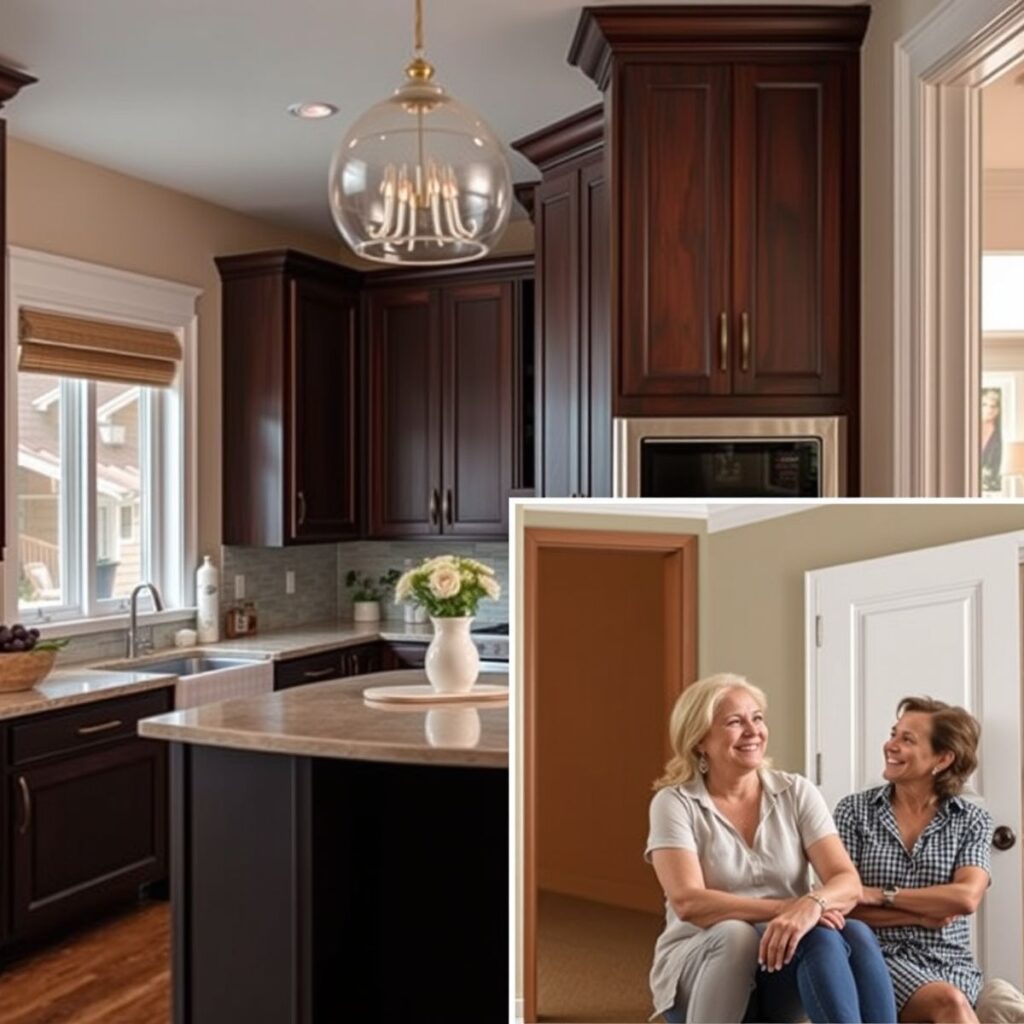
When it comes to refreshing the look of your home, few projects can make as significant an impact as installing moldings and trim. The transformation is often remarkable, breathing new life into spaces that may have felt dull or incomplete. Imagine stepping into a room where the walls are elegantly framed by decorative moldings, or a hallway that suddenly feels more inviting with the addition of well-crafted trim. The before-and-after effect can be striking, showcasing the true potential of your home.
The Visual Appeal of Moldings and Trim
Before you embark on your journey of molding installation, consider the aesthetics of your space. The right choice of moldings can enhance the architectural character of your home, whether you lean towards a modern, minimalist look or a more traditional style. Decorative moldings for homes can highlight key design features, such as doorways, windows, and ceilings. Once installed, the transformation becomes evident—adding depth, dimension, and a touch of sophistication.
Creating a Seamless Transition
The key to a successful installation lies not just in the moldings themselves, but in how they interact with your existing decor. One of the most rewarding aspects of finish carpentry is the ability to create a seamless transition between different elements of your home. For instance, matching your baseboards with crown molding can unify the overall look, making your rooms appear more cohesive. This attention to detail is what sets apart ordinary spaces from those that truly feel designed.
Enhancements That Speak Volumes
The subtle enhancements of trim work can also serve practical purposes. Installing baseboards, for example, not only beautifies a room but also protects your walls from scuffs and damage. Furthermore, the right trim can help define spaces in an open floor plan, creating a sense of structure without the need for physical barriers. With easy molding projects, even beginners can achieve impressive results, elevating their home’s appeal.
DIY Installation: A Personal Touch
For those who enjoy hands-on projects, DIY trim installation can be a fulfilling experience. Not only does it save on labor costs, but it also allows you to personalize your space in ways that reflect your style. Utilize molding installation tips that cater to your skill level, ensuring that the process is both enjoyable and rewarding. The satisfaction of completing a project that transforms your home is unparalleled, and it adds a personal touch that no contractor can replicate.
Maintaining the Beauty of Your Trim
Once you’ve completed your molding installation, maintaining the beauty of your trim is essential. Regular cleaning and occasional touch-ups will keep your moldings looking fresh and vibrant. The durability of quality materials means that with the right care, your trim can last for years, continuing to enhance your home’s aesthetic.
Embracing the art of finish carpentry opens up a world of possibilities for transforming your home. Whether you’re looking for the best trim styles for modern homes or seeking inspiration for creative home trim ideas, the journey begins with the installation process. As you witness the dramatic change in your space, you’ll understand why so many homeowners choose to invest in finish carpentry services to bring their visions to life.

At W Pro Multiservices Blog, we are passionate about finish carpentry, custom cabinetry, door installation, and trim work. With years of hands-on experience, we share expert insights to help homeowners, designers, and real estate investors make informed decisions. Our mission is to transform ordinary spaces into elegant, high-quality interiors with precision craftsmanship. Join us as we explore the art of exceptional home finishes!
